Saturday 8th January
Attendance: 7
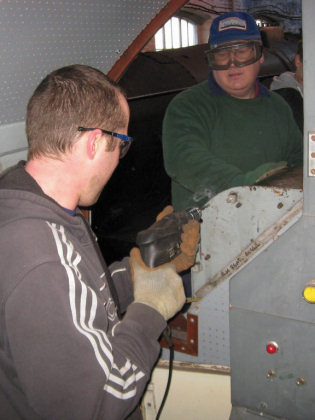
Adam and Rob began the day tasked with drilling the window frame screw holes out to 7mm to accept riv-nuts. Sounds easy, but it proved very troublesome and trying! The holes need to be opened up to 6.5mm first then opened upto 7mm. Some were easy to do, but others took more work as it seemed to be drilling into hardened metal, probably weld. Several drill bits died, even expensive Bosch Titanium ones soon wore out!
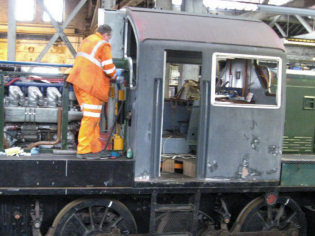
Chris B later joined them and a production line was set up, Rob drilling the 6.5, Chris the 7mm and Adam fitting the rivnuts. Once 5 of the windows had been drilled out, we started fitting the frames, some mastic sealing tape was put round the edge of each frame then the frame fitted and all the M4 screws started, we then went round with a battery drill and screwdriver bit to screw them up as best we could, some of the frames needed special help to fully sit back against the frame of the cab, and the screws were given a final tightening by hand. Disaster struck on the final windscreen frame however, when fitting the rivnuts, the mandrel snapped and as we did not have a replacement we had to leave the final two frames. The last of the two side frames also needed the hole drilling completing, but drill bits were getting low, so this was deferred for the next day.
 |
 |
| Adam and Rob drilling window aperture (smoke visible!) | Fitted front window frame |
With the others on window duties, Jason, Jim and Graham were busy making repairs to the exhaust stack mountings. Some metal needed to be cut, drilled and elongated for this, then welded on to the stack. Chris and Alan, loaded and took 2 air tanks up to Castlecroft by van, these will be pressure tested by Lee Kenny before fitting later this month. Alan continued with the many wires in the cubicle and AVR. He, Jim and Graham also progressed with the manufacture of the start contact panel. Old fittings have been removed from the board and components were then mapped out and markings placed, the job was not completed due Jim and graham being needed to help with repairs on the exhaust, but will be completed next time round.
 |
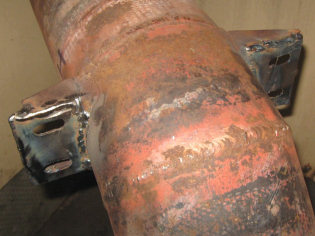 |
| Chris Baily fitting a window frame | Exhaust stack weld repairs and modifications |
Sunday 9th January
Attendance: 7
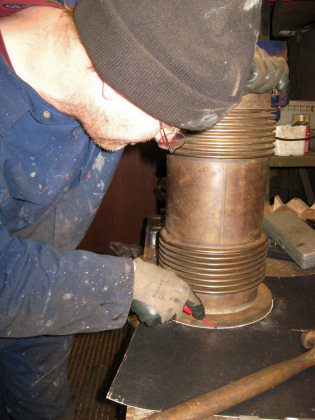
Adam set about completing the drilling of the side frame after we had been out for supplies of drills and bits. Chris got on with final tightening of the 4 frames that had been fitted and trimming back excess mastic. Jason made two exhaust gaskets, allowing the whole stack to be fitted and re-lagged.
 |
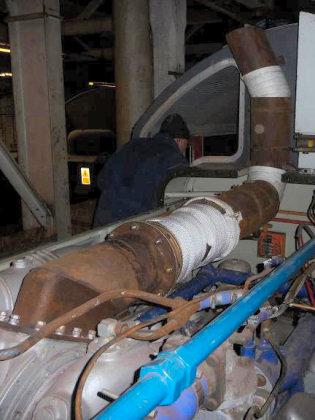 |
| Jason cutting exhaust bellow gaskets | Exhaust stack fitted and lagged |
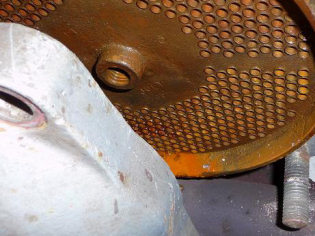
Once Adam had finished drilling the frames, he moved on to removing the Transmission heat exchanger cap. Before the big freeze, we were unable to remove the drain bung, but worried that frost damage may occur, the top coolant inlet pipe on the opposite side had been removed and antifreeze mix purged through the heat exchanger. The cap was removed so the reluctant bung could be liberated and replaced with drain tap instead.
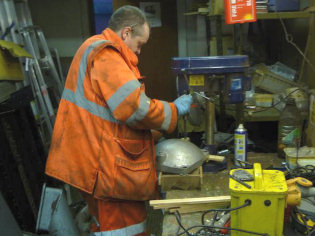
Once off Adam then resealed and bolted back up the top coolant inlet pipe to the heat exchanger. The cap was taken to the bench, and attempts to remove the brass bung made. It was stuck solid so needed drilling out, slowly moving up in size with the bits on the pillar drill. Eventually enough of the core was removed and the bung was able to collapse in on itself and be removed. The threads were then tidied up with a ½BSP Tap. A drain tap will be fitted next time round and the cap returned to the loco. A final coolant system check will be made before we change the oil in the transmission.
 |
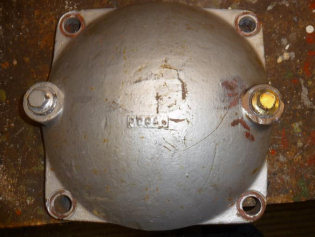 |
| Heat exchanger innards visible with cap removed | Heat exchanger cap with seized bung (right) |
James completed changing the grease nipples on the horn-guides and axle boxes, previously stalled due to wheel positions. Chris B changed the oil pressure gauge for a shiney new one, and then fitted the power unit coolant temp gauge and capillary. This was routed out from the cubicle and due to the length had to turn back on itself a few times to reach its destination! Finally the transmission oil temperature gauge was fitted, and with help from James the capillary was routed out of the cubicle and cab, then down and under the cab floor to join the transmission pipework.
 |
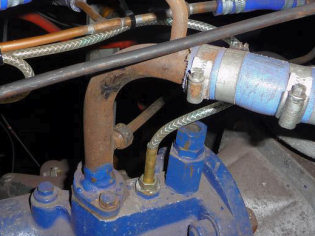 |
| Chris Baily drilling out the heat exchanger bung | Water temperature capillary fitted |
With this the weekend drew to a close, another good weekend, frustrating at times, but progress made and a great turnout - thanks everyone!
If you'd like to get involved as a volunteer or make a donation click here for details.
< Prev | Workgroup Reports | Next >