Saturday October 29th 2011
Attendance: 3
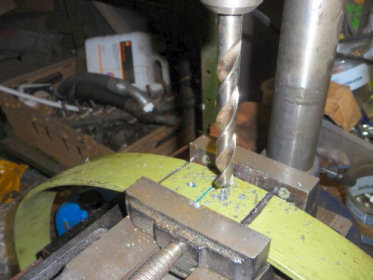
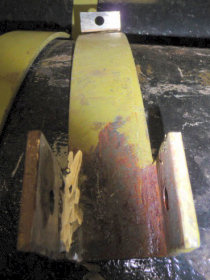
Jason and Adam were on site early and were joined by Jim a short while later. A list of jobs had been assembled and it was a case of seeing how many of them could be ticked off. First up for Jim and Adam was to finish off the main air reservoir tank straps. One set of straps had previously been found to be too long and needed to be split into two and additional metal welded on so that the two halves could be bolted together right. Adam set off with this drilling and cutting the metal the straps, then making the parts that would be bolted together.
 |
 |
Strap being drilled prior to cutting and welding back together |
One half with finished modifications |
While this was going on Jim set up the welder and once Adam had finished Jim welded the various bits of metal together. After a bit of a clean up of the welds and allowing time for the metal to cool down the strap was test fitted. Unfortunately one end of the strap needed further modification to allow for clearance, so Adam completed the cutting and then assisted Jim welding it back together. A further test fitting was successful.
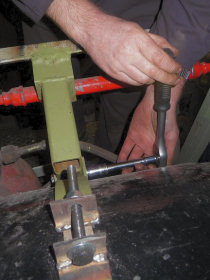
The orignal fixings for the strap used pre-threaded holes in the air tank frame itself but these also needed to be opened up with a drill allowing long bolts to be used at the new fixing points. With cork strips in place around the straps, Adam sourced the required nuts and bolts, then everything was connected up and tightened down.
 |
 |
Jim tightening strap fixings |
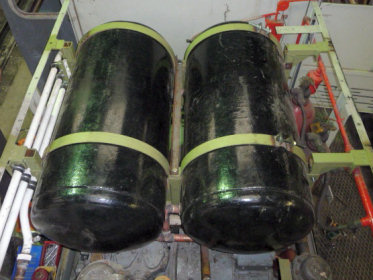
All strapped and tightened up, right-hand straps are those modified |
Meanwhile Jason was fitting a vacuum chamber to the B-end cab bulkhead. A few air pipes were in the way so he made a frame to bridge over these. Some suitable 3 inch steel U channel was found, cut to length, clearances checked then marked up for two holes to secure it to the bulkhead and another two to bolt the tank to the frame. One existing hole in the bulkhead was re-used and the other marked and drilled out. Everything was then tightened up and now the tank just needs to be connected up.
Adam and Jim later worked on further strengthening the main reservoir air tank frame. They decided to use a simple piece of angle iron cut to length and bolted between the two tanks using the existing bolting points. Adam cut the metal to size then Jim marking the location of the holes for Adam to drill out. Finally Jim fitted the metal piece in and bolted it all down (photo further down the page, see 08/11/2011).
A Successful day with antother few jobs on the list ticked off.
Sunday October 30th 2011
Attendance: 6
Mechanical work focused on D8233 and Cobo D5705 today but this gave the paint team a chance to apply a coat of grey undercoat to the cab, having already done the A-end nose.
 |
D9531 at rest in the C&W workshops with the cab in freshly
applied grey undercoat |
Thursday November 3rd 2011
Attendance: 2
Chris and Alan were on site today to progress work further. Chris started the day by replacing a broken air push fit fitting on a horn valve in the cab then moved on to fitting missing nuts and spring washers to the B end nose section.
Alan arrived and set up an airline from the C & W workshop compressor to blow up D9531's air system. Chris & Alan then set about finding and eradicating air leaks, some were obvious but others were detected by means of soap water mix. As the system is a whole new installation, there were quite a few! Some were an # easy nip up of unions, others were more time consuming to sort as they needed re-sealing with PTFE tape.
Alan sorted out the DSD valve and, by temporarily blanking some open pipe work off, we were able to get the brake feed cut off valve working. With this achievement, and the air system 90% leak free, it was called a day.
The soapy water mix put paid to any photographs from today!
Tuesday November 8th 2011
Attendance: 3
Carrying on from the previous Thursday, Chris and Alan were joined by Rob Mason. Rob worked in the support coach to begin with where he cleaned up and primed a couple of timing air tanks. Chris set about solving an air leak left over from the previous week, although this was proving very taxing to solve. Alan electrically terminated the compressor permenantly, the connections having been temporary during the testing process.
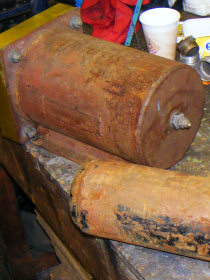 |
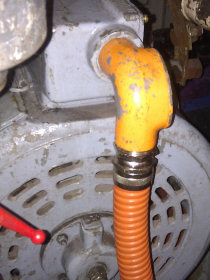 |
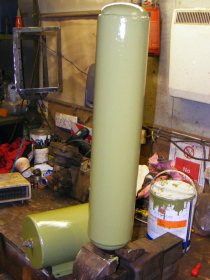 |
Rusty timing tanks |
New Copex connection to compressor |
Cleaned and primed timing tanks |
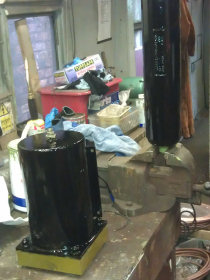
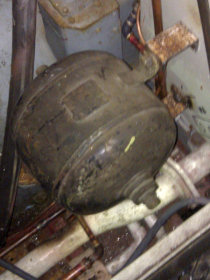
With the tanks primed, Rob (and paintbrush) relocated to the C&W works and gave the now complete main reservoir tank frames a coat of grey gloss. Meanwhile, Chris cut and drilled a strengthening plate to go in the cab behind the new vacuum chamber tank to stiffen the mounting up. Once this was done, he removed the wood surrounds and peg board in the area, and got the new plate welded in. Once Rob had finished the air tank frame, he returned to check on the two timing tanks, The primer was dry so a coat of gloss black was applied.
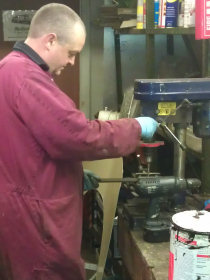 |
 |
 |
Chris drilling the Vac strenthener plate |
Timing tanks finished in black gloss |
Vacuum tank and mounting |
Chris then set about fitting "P" clips to some of the smaller air pipes on the brake frame. These had been identified by Alan as suffering from a little too much vibration and wobbling around as a result while the loco is running, the clips will dampen this and prevent joint fatigue.
 |
 |
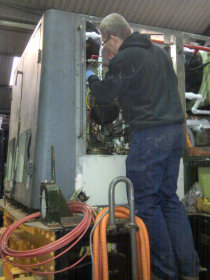
Rob applying white Hammerite |
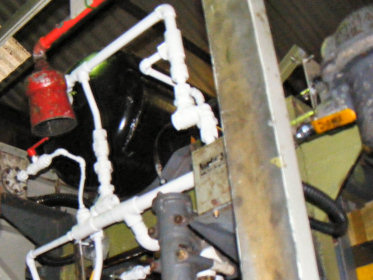
Some of the freshly painted white air pipework |
Rob returned and made a start on painting the air pipework from the main reservoir tanks and into the brake frame in regulation White Hammerite. Chris rebuilt the cab pegboard and wood surrounds that had been removed earlier to weld in the strengthening plate, Rob had completed as much of the pipework he could, so it was decided to call it a day and pack tools and equipment away.
If you'd like to get involved as a volunteer or make a donation click here for details.
< Prev | Workgroup Reports | Next >