Saturday December 10th 2011
Attendance: 5
Today was the day to make a start on small tidy up jobs that have accumulated as the air system has progressed. Jim and Dave spent the morning making brackets and wooden cleats to secure copper air pipes. Using much the same method as employed on the water bleed pipes in the 'A' end roof, a piece of wood had holes drilled through it and was then split through the holes, the two pieces of wood then sandwich the pipe work. Threaded bar is welded in the location for each bracket and then the wood is placed over the threaded bar, pipes placed into position and the washer and nut used to secure it all in place. The brackets were placed at set intervals to stop the pipes vibrating too much.
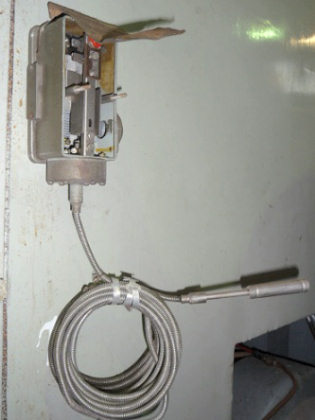
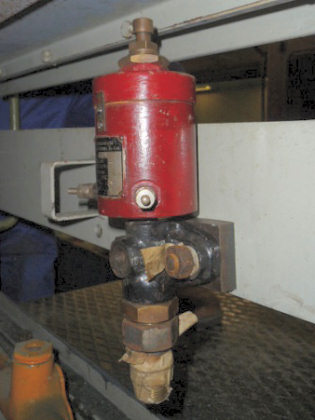
Adam and Kris took on the task of mounting both the new housing for the transmission temperature probe equipment and a valve for the sanding equipment in the 'A' end. The new probe equipment housing, to be mounted on the cab bulkhead, was a different size to the non-working original it replaced so the appropriate fixing holes were marked, drilled out and tapped before bolting it into place. The sanding valve at the 'A' end had to have a piece of packing metal made up as the top part of the valve fouled slightly. This was made out of some quarter inch steel cut to size with a hole drilled through either end for the bolts to pass through. Then the location in the 'A' end was marked up, drilled and the valve was bolted in place.
 |
 |
Transmission temperature probe equipment mounted |
Sanding valve mounted with ¼" packing |
Jason was tasked with locating 6 brackets for stowing the air and vacuum pipes safely when not in use, 3 are required on each bufferbeam. Suitable brackets were found, cut to size and cleaned up ready for welding into place. This sounds like a simple job but it involved a lot of cutting and grinding, all on heavy duty metal. With the clips completed Jason then ground off the paint on the buffer beam in preparation for welding on the following day.
Finally, Adam and Kris made a start on marking out the location of the necessary holes in the cab bulkhead to hold conduit clips to carry the main electrical cable which links between the two battery boxes. Once marked, a start was made on drilling out but the end of the day had arrived before this could be completed.
Sunday December 11th 2011
Attendance: 2
Some finishing off on D9531 today before moving on to D8233.
Today Jason continued on with the clips for the air and vacuum hoses, welding the brackets onto the bufferbeams and giving them a coat of anti-corrosive paint. Adam completed drilling and tapping out of the holes to hold the electrical conduit linking the battery sets.
Jason finished off the conduit brackets whilst Adam went and measured up the circumference of all the water pipes with flexible hoses. The present clips are going to be replaced by new Jubilee clips.
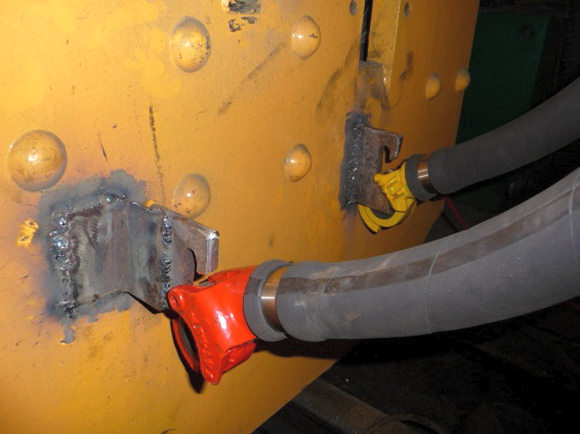 |
Clips welded onto the bufferbeam prior to receiving a coat of green paint |
With that Jason and Adam headed for Baron Street to concentrate on the class 15 for a while. For information on D8233 see www.d8233.org.uk
Tuesday December 13th 2011
Attendance: 3
Chris, Alan and Martin were in attendance tody, the mission being to complete more of the brake system pipe network.
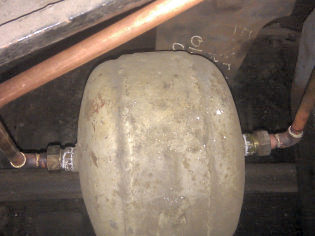
Martin got straight into making pipework and brazing fittings from the Air Vacuum relay valve to the newly mounted silt Air Vacuum tank which sits behind the shunters step. Two 15mm pipes run from the valve to the tank and a pair of holes needed cutting in the running plate for the pipes to go through. Alan was busy running copex and wires to the transmission temperature switch.
 |
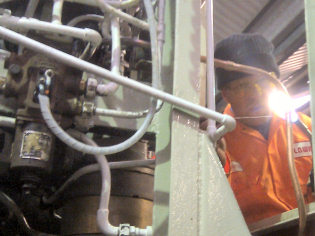 |
Vacuum chamber with pipework completed |
Martin at work brazing pipework connections |
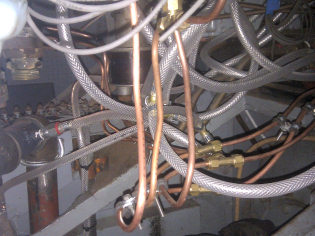
Chris set about completing the 6mm network of pipe underneath the desk. Alan had reported a few leaks that were proving difficult to seal, so Chris had obtained some different fittings which he installed along with a new run for the emergency signal pipe. The whole network was then secured using P clips. Chris then put fittings in for the vacuum train pipe gauge, fed off the newly installed 2 inch pipe to the emergency valve in the cab.
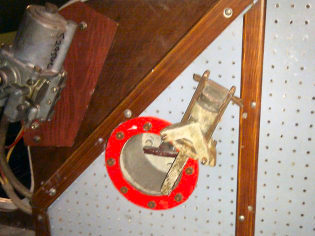
Alan & Chris then got together to decide on the location for mounting the Vacuum Chamber release valve, sufficient space was found to be available to the side of the cab fire pull. Having completed the Air Vacuum Relay valve pipework, Martin ran a 15mm pipe from the vacuum chamber side of the distributor to the vacuum chamber tank mounted on the cab bulkhead, another from the vacuum train pipe side of the distributor to the 2 inch vacuum train pipe, and a pipe from the vacuum train pipe to the vacuum pressure switch.
 |
 |
6mm network to the train brake controllers |
New vacuum chamber release valve location |
Martin then brazed together the 1" pipe work from the air train pipe that goes up to the emergency valve where Chris had marked it and, once cool, Chris fitted it along with a small run of pipe to direct the vent from the emergency valve. As time was gaining on us, we decided to call it a day on the pipework. The only pipes not installed were from the vac chamber to the release valve and T-ing off to the cab manifold which feeds the vacuum chamber gauges.
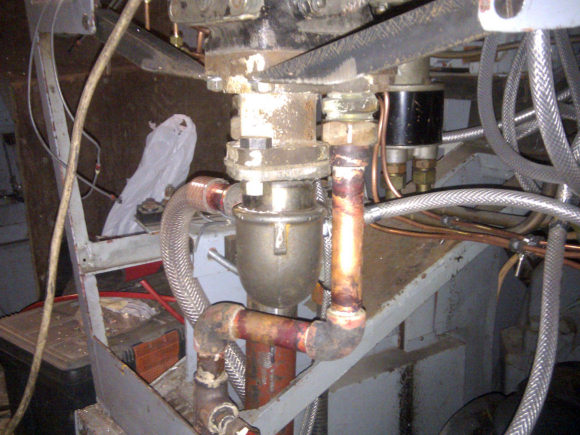 |
Pipework installed to the emergency valve in the cab |
We were keen to run up the air system to check the installation work carried out so Alan set up the shed compressor and after a while we had enough pressure to test the brakes. Alan switched a vacuum exhauster to run off the batteries, and once the brake feed cut off clunked, both air and vacuum train pipes were created. The controller joystick was applied slightly and the air pipe control pipe gauge dropped, followed quickly by the air train pipe then the vacuum train pipe - Success!! The system worked! Air pressures will need further setting up to improve performance and this can be looked at another time.
With smiles all round it was time to call it quits and head home.
If you'd like to get involved as a volunteer or make a donation click here for details.
< Prev | Workgroup Reports | Next >