Friday 18th, Bury
Attendance: 4
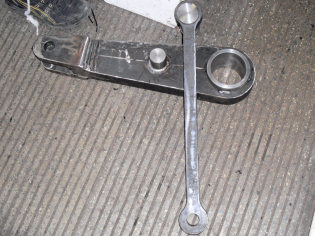
Chris arrived in the afternoon, calling first at castlecroft to pick up the handbrake links and rods Les Tappenden had dropped off the previous weekend. Once down at the works, Chris set about making a replacement vane for the manual fuel lift pump, one of the three carbon vanes had been damaged in January and the job was still outstanding. PTFE block was used as a replacement for carbon, cut to shape using a Stanley knife by scoring, and then a hole for the spring gently drilled in the centre.
 |
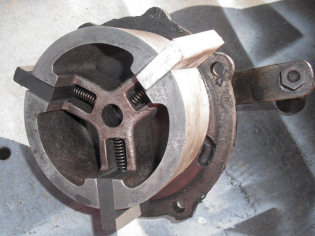 |
| New Handbrake arm and link rod | Manual Fuel lift pump with new PTFE vane |
The pump was then put back together and, although it was pumping quite well once primed, there were leaks. So the system was drained down again, and some sealant tried, again there were leaks, the system was drained again and the problem identified! Two dowls were jacking the edge of the pump off the body, enough to not make a seal, these were knocked clear and the pump put back together. Success! The pump worked and had no leaks.
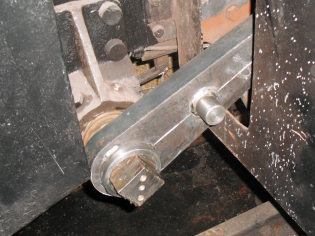
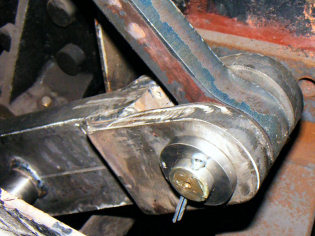
Meanwhile, Rob Mason had also arrived and was tasked with fitting the handbrake arm and link rod. First of all the main brake shaft was cleaned ready to accept the new arm. Plenty of grease was applied and the arm successfully fitted. Next the pin for the pull end of the link rod was checked to see if it would fit, not quite was the result so it needed opening out slightly for the pin to go through.
 |
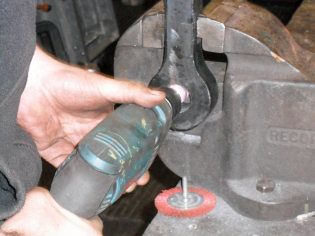 |
| New Handbrake arm fitted | Handbrake link rod pin hole being opened out |
To fit the claw, the slack adjuster rods had to be disconnected and dropped clear, the handbrake could then be wound on enough to get the main shaft in the correct position. Steve Foster and Chris Tatton assisted and the claw was successfully fitted to the main shaft, the end cap was replaced and the bolts torqued. The slack adjuster and anchor rods were then refitted and the pull rod from the handbrake wheel adjusted. The handbrake was applied several times, the blocks will need some bedding in though!
 |
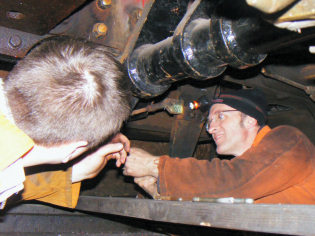 |
| New Handbrake link rod and arm connected | Chris Tatton and Steve Foster Adjusting brake rigging |
Saturday 19th, Bury and Rowsley
Attendance: 5
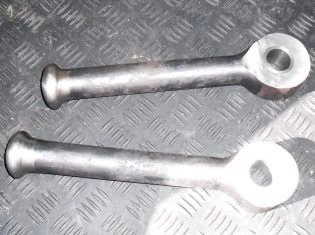
Rob & Chris had an away mission over to Rowsley to drop off the handbrake arm and rod we had borrowed from D9500 and pick up the two brake cylinder dogbones that Andrew Briddon had arranged to be made for 'Ernest'.
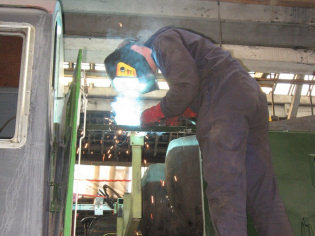
Back on site at the works, Jim, Kris & Jason were all busy. Jim started by welding up the old route indicator selector holes in the nose doors and Jason made final touches to the B end cable trunk. The trio then moved on to the air tanks and frame. The tanks needed their old angle brackets cutting off without damaging the walls. To avoid compromising the tank structures, part of the old brackets were left in place and the excess cut away.
 |
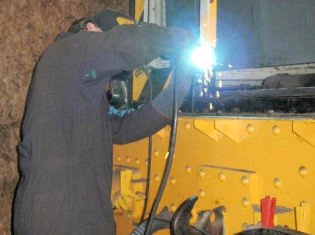 |
| Two new brake cylinder dogbones | Jim welding up old headcode box holes |
A few weeks ago it had been decided that the new air tank frames needed mounting under the side frames rather than inside the roof section itself. Rather than remove the tanks again, it was possible to hold them in one frame whilst welding the other.
It was also noted that the side frames were bowed slightly which could cause problems when fitting the nose roof. To ensure the air tank frames and side frames were spaced and fixed correctly Jim & Kris went up to Castlecroft where Andy Hardman kindly lifted B end roof section down for them to make necessary measurements. With the dimensions in hand they returned to the loco works and pulled or jacked the side frames as required and welded the frames into position.
 |
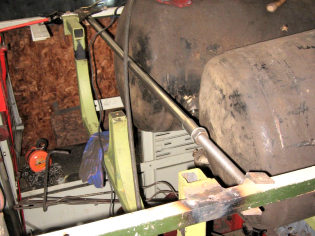 |
| Jim welding the cab end air tank frame | Cab end air tank frame in position, spacer bar also visible |
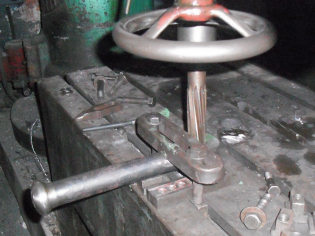
Meanwhile Chris & Rob returned with the new dogbones. The pins we had for them were 0.5mm too thick pass through them so we went to see Ian Riley, who kindly let us use his Radial arm drill to ream out the holes. We then tried to get the dogbones in, but they were too thick to go into the fork of the main brake shaft. Measurements were taken with a micrometer which told us 1.5mm a side on each needed to be lost. Using a grinder, file and regular measurment checks, the excess was removed to the required size.
 |
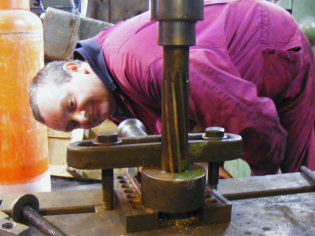 |
| Reaming out dogbone in the Riley workshop | Are we there yet? Chris checking if the bit had gone through |
We then tried a pin in the main brake shaft but discovered that these would not go through either and will also need to be opened out. One side of one fork was completed, but time was against us so the other will be completed next time. Jim finished welding the air tank frame nearest the cab but still has the other to complete along with bracing the whole assembly to the door pillars for rigidity.
The project continues to throw a curve-ball now and then, but we're moving on none the less!
If you'd like to get involved as a volunteer or make a donation click here for details.
< Prev | Workgroup Reports | Next >